Goldfinger
With a few fine days forecast, we decided it was time to complete the repair on our beautiful pot. I blogged already about our sadness in discovering that it fell victim to a particularly hard frost one night during the winter and the wonderful advice and support we received from Whichford, the makers.
We had followed their advice and filled the crack using Milliput before taping up and covering the join to protect it from the rest of the Winter.
It wasn’t a pretty sight but we were prepared to be patient.
On the first fine, Springlike day, my Hero decided it was time and having unwrapped it and given it a day or two to dry, went out to empty it. That’s no easy task. Not only is the pot bolted to the ground, the plant in it had put down some very deep roots and was quite resistant to being moved. At times, I feared for my Hero’s safety and offered to hold onto his legs in case he fell head first into it. He assured me his feet would remain on the ground - as always 😍
It was an awfully long way down there though.
Now we could see inside, the extent of the damage was clear. There was a second branch which hadn’t appeared on the outside and we felt quite pleased that we were taking action now. What we loved was being able to see the fingerprints of the maker all over again - something that charmed us when it was new but which is hidden once the pot is in use.
I don’t normally take photographs in DIY stores, but Whichford had recommended supporting the inside of the pot by applying a layer of fibreglass across the crack. We’d looked on Amazon and were not quite sure which product would be the best, so I thought it best to see the things for real and speak to an expert. When we whittled the choice down to three possibilities, I decided to ask my Hero - back at home with the internet to refer to - which one he thought would be best. No question - The Gorilla Waterproof Patch and Seal Tape.
We cut it into squares and applied it along the length of the crack, pressing it firmly into the surface to make sure of a good seal. After 24 hours or so, we were relieved to find it had bonded securely.
For the past couple of days, then, it’s been standing, awaiting my attention. Because it was my turn to swing into action to add the finishing touch.
As before, I did a trawl of Amazon to see what products were around and which might be suitable. I’d identified a Pebeo product and emailed their customer service to ask if it was suitable for outdoor use but received no answer beyond an acknowledgement telling me how they appreciated my custom. Not that they got it - I spotted this on the Amazon page and remembered I already had a pot in the treasure trove that is my studio.
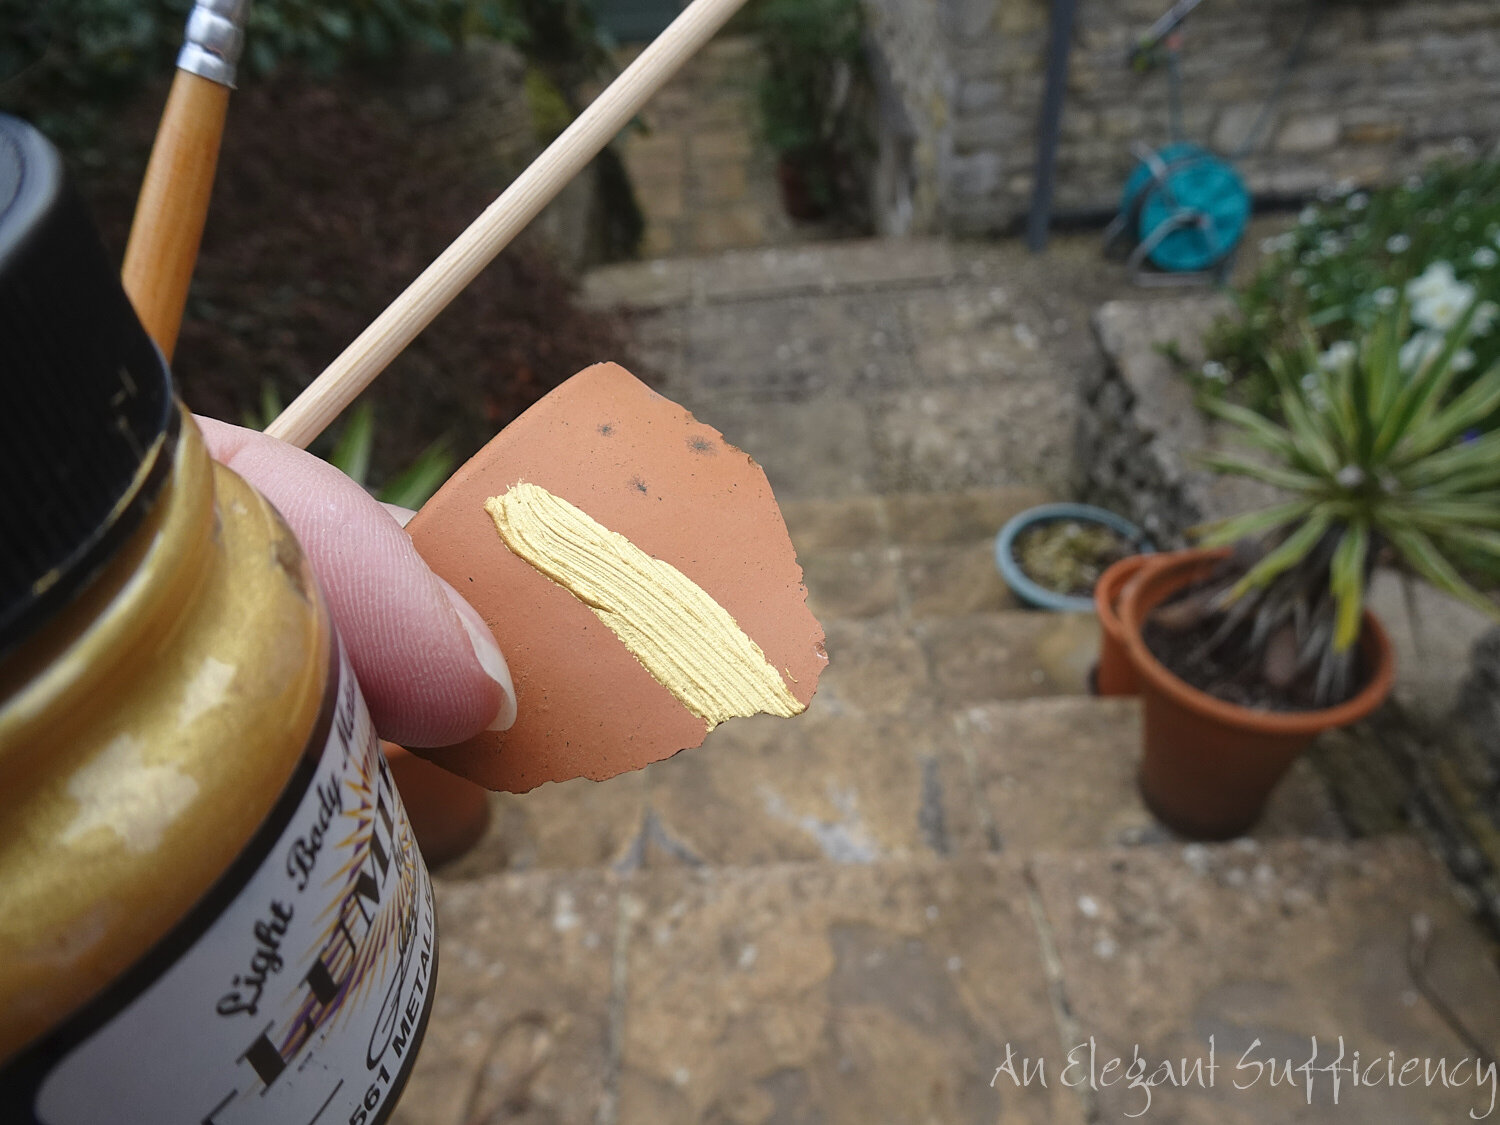
Most of the Amazon comments were about the colour - many people felt it was too green in tone - and the consistency, which was felt to be too thin. Now, this pot had been in my stash for several years and the solvent had evaporated somewhat. My gold paint was a bit gloopy if anything and I tried it on a bit of broken pot to check the colour. Fine.
But trying it on an unimportant bit of the pot, I decided it was too gloopy and didn’t like the visible brushstrokes. Time to try something else.
Whilst looking through my stash I had also come across the Faber metal size and a pot of gold powder. Actually, there were pots of copper and silver powder in the same box, so we even had a choice! But there was no question, we wanted gold.
I tried a sample of the size + gold powder alongside the paint sample. There was no question which looked better.
As soon as I began dusting the gold powder onto the dried, but still tacky size, I knew it was the right choice. I was using a soft chinese paintbrush to apply the powder and was surprised how little was needed to get a good cover.
Towards the bottom of the pot it was a bit more tricky, though and I seemed to be losing most of the powder to the wind. I resorted to using my finger to rub it into the size and immediately saw better results.
Which is how we come to have a beautifully repaired pot and I have a gold finger.


