with the Textile Treasures
I’ve had the date in my diary for ages. It took a bit of effort to pin eight busy women down and find a time when we could all get together but somehow, Pat sorted us all out, booked the hotel and made the arrangements for our shindig. We met last evening and shared the news over dinner, so that today we could focus on the task in hand and not spend the day gossiping!
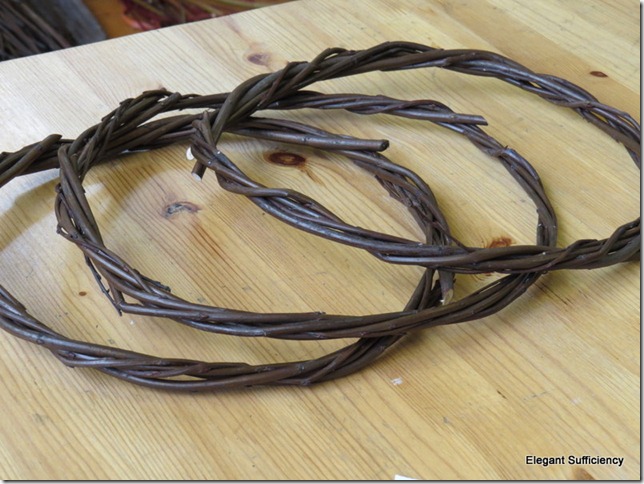
First step, make three rings from three pieces of willow. Actually, those pieces are called “rods” or “whips” and I ought to have acquired the correct terminology, because we were working with our friend and colleague Norah, who is an expert in such things. We were at the Ardington School of Crafts, owned and run by another friend and colleague, so felt very much at home the whole time we were there.
One thing we loved was how well everything in the school had been thought through, even down to the shelves under the table for stashing bags and stuff.
We were all absolute beginners and didn’t expect to achieve a great deal, but as the morning wore on, we became more confident in selecting the right kind of willow and using the bodkin to create a space through which to push the rods. Norah was on hand though, to reassure and to explain. We couldn’t really go wrong!
Her help was definitely needed at this next stage because it was going to be crucial to the successful outcome of the project. The angle of those two rings was going to form the characteristic shape. Can you see what it is yet?
I’d never really seen a chicken as a “U” shape before, but tying the two ends together and bringing up that front piece at the right angle created the neck and the tail and immediately, i could see where we were going with this.
In the meantime, on the other side of the room, a couple of piglets were taking shape!
By lunchtime, we’d filled in the framework of our hens and our piglets with “scribbling”, or weaving thin rods of willow in and out at random, creating a solid shape and hopefully, building a structure which will withstand the weather. We left our masterpieces in the workshop and went for a sit down and a yummy sandwich lunch, but all the time, couldn’t wait to return to our work.
Further 1:1 tuition needed, for creating beaks and trotters.
Do they have to be the same size?
There were other appendages to create, too.
During the next couple of hours, we created colourful tail feathers, wrapped a few rods of thin willow to create a head and placed a piece carefully, to create an eye. Fixing the legs securely wasn’t easy; balancing the body with that heavy tail was impossible, but somehow we persuaded our creations to stand against the wall and considered Norah’s suggestion of placing a heavy stone inside once we were home. We stood back and admired our handiwork before setting our creations free in the garden.
Five fat hens and two piglets posed on the gravel for their moment of fame!


