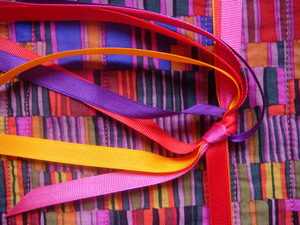
Quilt in a day
Good friends of ours were moving house on Friday and I'd had the idea to make them a quilt. Nothing too traditional and certainly something easy. I'd seen quite a few of the bright new Kaffe Fassett fabrics around and thought that they would fit the bill well. I'll record the whole process here so that when I want to repeat the project, I know where to find the details.
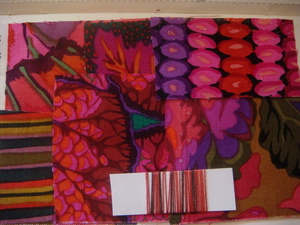
Whilst shopping in Bath on Wednesday, we chose six different fabrics in the same colour range, mostly Kaffe Fassett prints but at least one is a Philip Jacobs design. I bought 40cm of each, plus an extra 2m of the "beads" fabric to use as backing. 1m 40 of Warm and Natural wadding, two reels of cotton thread and a reel of variegated quilting thread (should have bought two!)
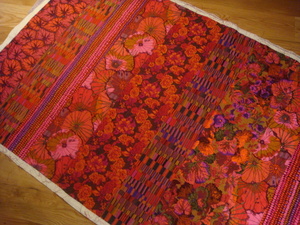
I didn't really have a design but simply cut widths of the fabrics and stitched them together. These glorious fabrics work so well in large pieces - by cutting them into small shapes to stitch together again I think they'd really lose the character which makes them sing. I did have problems with the two geometric designs however - the beads and the barcode pattern were both printed askew and trying to manage those patterns whilst keeping everything square and straight wasn't easy. In the end, I told myself that all wonkiness was due to the printing of the fabric and none of it was down to me!
I took all shortcuts available and used 505 spray rather than tacking the layers together but "does not clog up sewing needles" Hmmm... I backed the quilt with the beads fabric - with hindsight a badly printed geometric print was not the best choice but next time I'll know better.
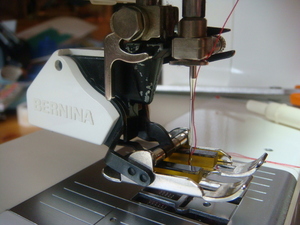
Out came the trusty Bernina walking foot - the best invention since...well....quilts were made by hand! I stuck to a simple straight horizontal line quilting, following the seams and varying the widths of the quilted channels. I began in the centre and worked out towards one end and having got there, immediately began to panic that I'd run out of quilting thread. For some reason, although I'd bought two reels of sewing cotton, I failed to realise that it's the quilting that eats up thread and only bought one reel of the gorgeous variegated quilting thread. Perhaps I'd been seduced by the larger bobbin without stopping to work out that the same yardage of thicker thread results in a bigger spool? Who knows. But it did get to the stage where I was sewing quicker to get there before the thread ran out!
Sadly, my photograph of the quilting stage is too blurry to use, but you'll just have to imagine my perfect stitching ;-)
I bound the edges of the quilt using a method taught to me by David Walker at a Rolduc workshop a few years ago. Since then, I've never used any other method, so reliable is it.
I cut strips two and a half inches wide* from the leftover fabric. As you can see, there wasn't much left! I joined these strips together and pressed them in half. I attached this double layer of fabric to the right side of all four sides of the quilt sandwich and pressed the seam open. I then turned the folded edge over to the wrong side of the quilt and stitched it in place by hand, using a small invisible hemming stitch (this was the only hand stitching I did)
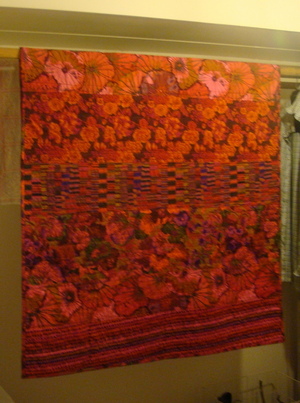
The finished quilt is here, hanging in the laundry having been washed and tumbled for a short time to fluff it up. The wonky printing is clear to see, but then so are my neat square corners! It measured about 120cm by 150cm when finished and felt beautifully soft - what the fabric lacked in precision printing, it made up for in texture. Sadly, the glorious colour isn't shown to best effect in this light - a cellar room lit by an energy saving lightbulb, but other photographs give a more accurate impression.
24 hours after finishing, the quilt was packed up, tied with a ribbon and in its new home. I was really quite sad to part with it and feel another similar one won't be long in the making.
*I am such a supporter of metric measures that I feel I should explain that my lapse into inches at this point is due to the American origina of my quilting ruler!
